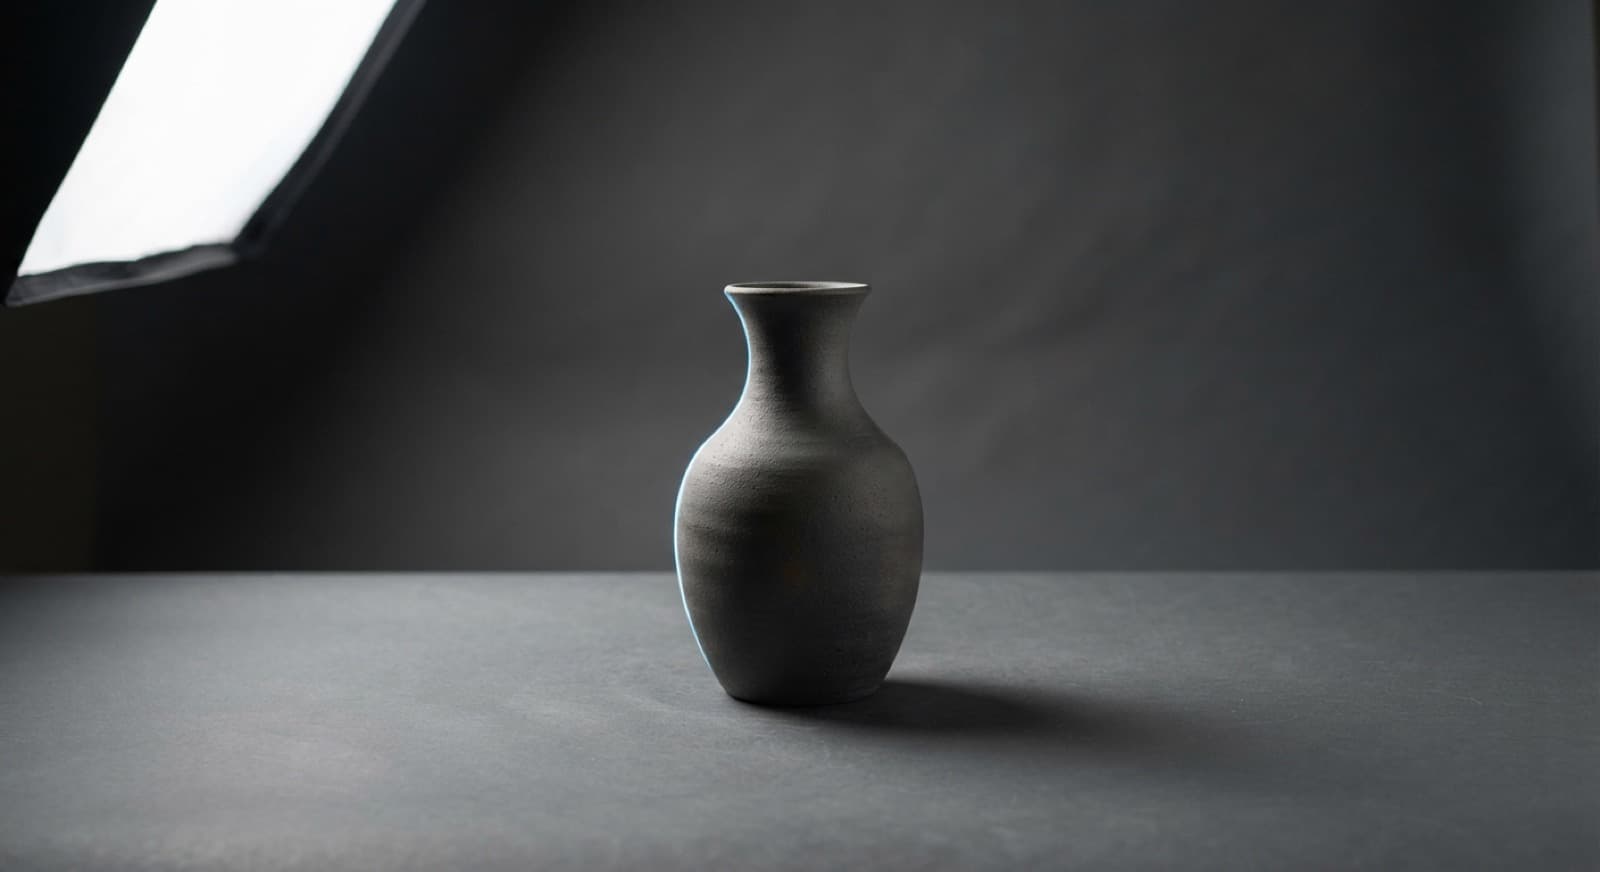
Product photography is almost entirely about how a surface behaves. Glass throws light, matte absorbs it, brushed metal streaks it in one direction only. When you generate rather than shoot, you are describing that behaviour to a model that has seen countless examples of it and none of your object.
The trick, which takes most people a while to find, is to stop describing the object and start describing the light hitting it.
Start with the surface
Before anything else, decide what the object is made of, in one word: glass, matte plastic, brushed aluminium, ceramic, fabric. That single word does more for realism than any adjective about quality, because it determines how every highlight in the frame is allowed to behave.
Get the material wrong and no amount of lighting language will save the render. Get it right and a three-word prompt can look expensive.
You are not lighting a bottle. You are lighting the way a bottle fails to be matte.
— from the craft handbook
The three-light habit
Commercial stills are usually three decisions and a background. Say them in this order and the model rarely argues with you.
Key — Large and soft, high and slightly off-axis. Sets the main highlight.
Fill — A white card opposite, at a third of the key. Controls shadow depth.
Rim — A hard narrow light behind, separating the object from the sweep.
Sweep — The seamless background. Name its colour and its falloff.
Height — Camera at product height, unless you want it to look monumental.
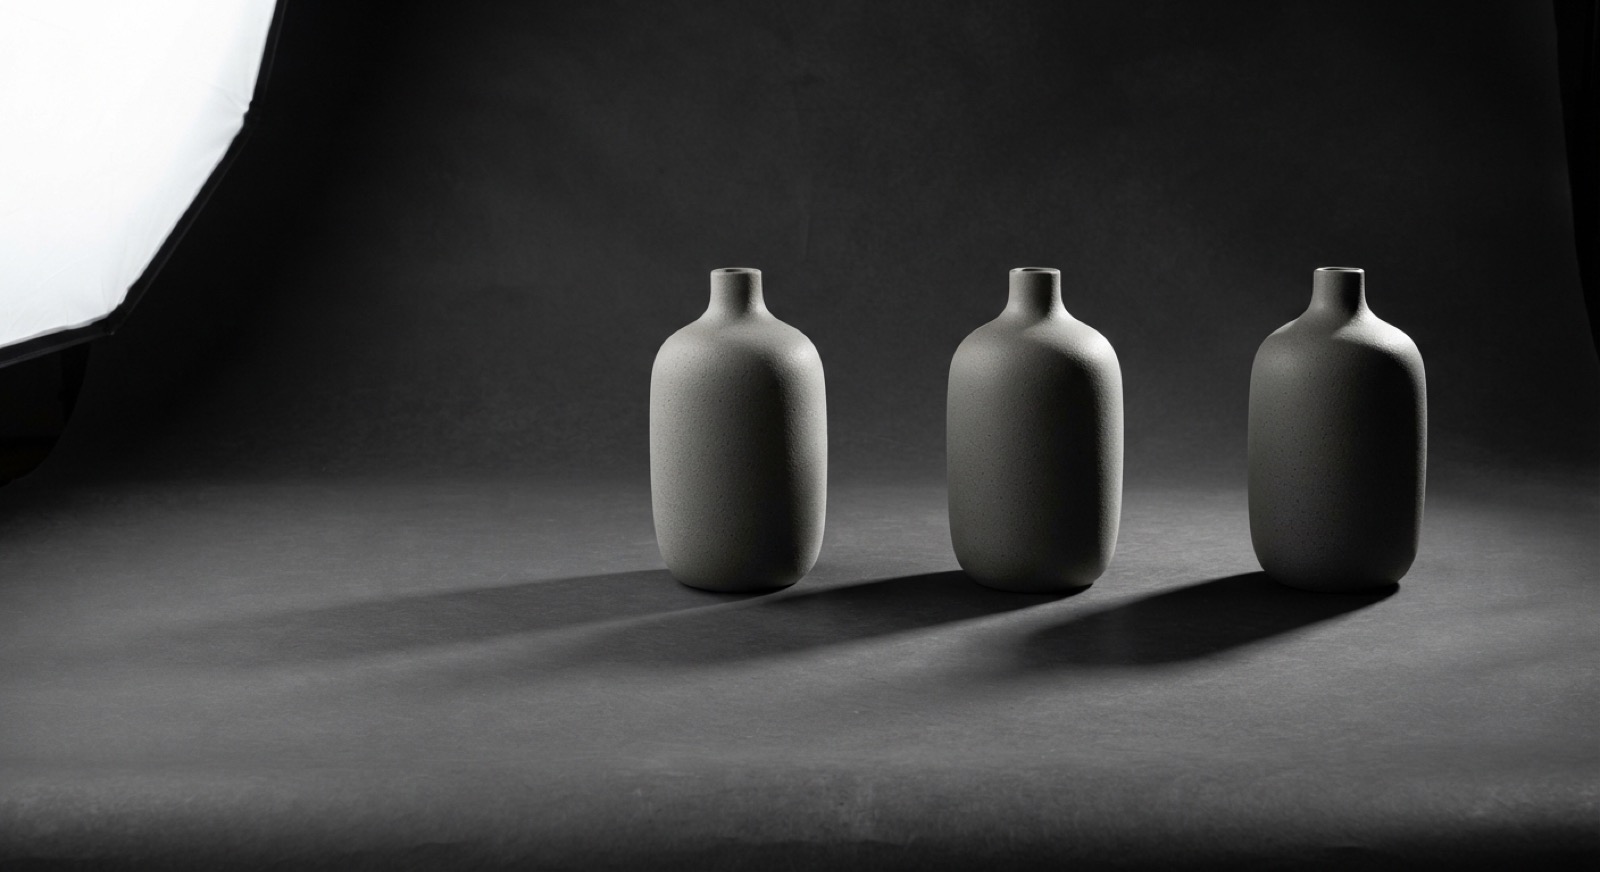
Fig. 1 — the same ceramic vase under a 1:1, a 2:1 and an 8:1 key-to-fill ratio. Nothing else in the prompt changed.
Reflections do the work
On anything glossy, a highlight is not a dot. It is a picture of the softbox. Saying a long vertical softbox reflected down the left edge gives you a shape you can predict; saying beautiful reflections gives you a lottery ticket.
This is also the fastest way to change perceived size. Long narrow reflections read as tall. Broad ones read as wide. You can restyle an object's proportions without touching the object at all.
Shadow is a shape
The shadow under a product is the only thing anchoring it to a surface, and it is where most generated stills quietly fall apart. Say where it falls, how hard its edge is, and how far it reaches. Three clauses, and the object stops floating.
2:1 — key-to-fill ratio for most catalogue work
8:1 — for dramatic single-source looks
1 — material word, before any other adjective
Building it into a key
Every sentence above is reusable, which makes it a key rather than a prompt. Write the lighting once as the style paragraph of a key with no subject, name it after the look — Cold Studio, Warm Sweep — and attach it to any object afterwards.
Then your per-shot prompt is just the object and its material, which is the entire point of working this way.
Build your first lighting key from the five lines above, change the sweep colour, and try it on the Draft tier at one credit an image before you render the final at a larger size.